How to Set Up Your Zevo Trap: So Easy, It's Done in Seconds!
Got your new Zevo trap in hand and ready to banish those annoying pests? Excellent! You'll be delighted to know that getting started is incredibly quick and easy. Seriously, you'll be set up and on your way in mere moments.
We've created a super-short, step-by-step video that visually guides you through the simple setup process. But for those who like to read along, here’s how effortlessly you can get your Zevo trap working for you:
Step 1: Unbox Your Zevo
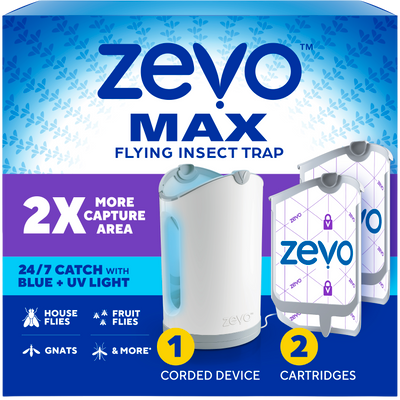
First things first, remove your Zevo trap from its packaging. No complicated parts or tools needed – just the trap and the cartridge.
Step 2: Peel & Reveal
Next, locate the protective liner covering the sticky cartridge. Carefully peel this liner off to expose the powerful adhesive surface. This is where those unwanted pests will meet their match!
Step 3: Plug It In!
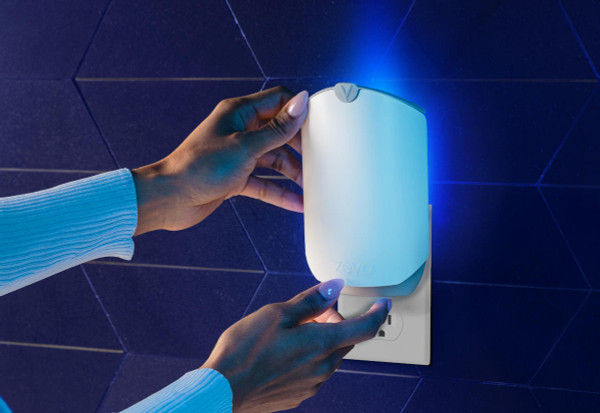
Now, simply plug your Zevo trap into any standard electrical outlet where you've identified pest activity (check out our "Where to Place" video for tips!).
Bonus Tip for Horizontal Outlets:
We know not all outlets are vertical. That's why we designed Zevo with flexibility in mind! If you have a horizontal outlet, no worries – the Zevo trap rotates. Just turn the top of the trap so the sticky surface remains upright. This ensures optimal attraction and capture, no matter your outlet orientation.
That's it! In less time than it takes to swat at a fly, your Zevo trap is actively working to attract and trap flying insects 24/7, discreetly and effectively. Sit back, relax, and let Zevo do the work.
Ready to see how incredibly simple it is? Watch our "How to Set Up Your Zevo Trap" video now and get started on your journey to a more comfortable, pest-free home!
For indoor use only.